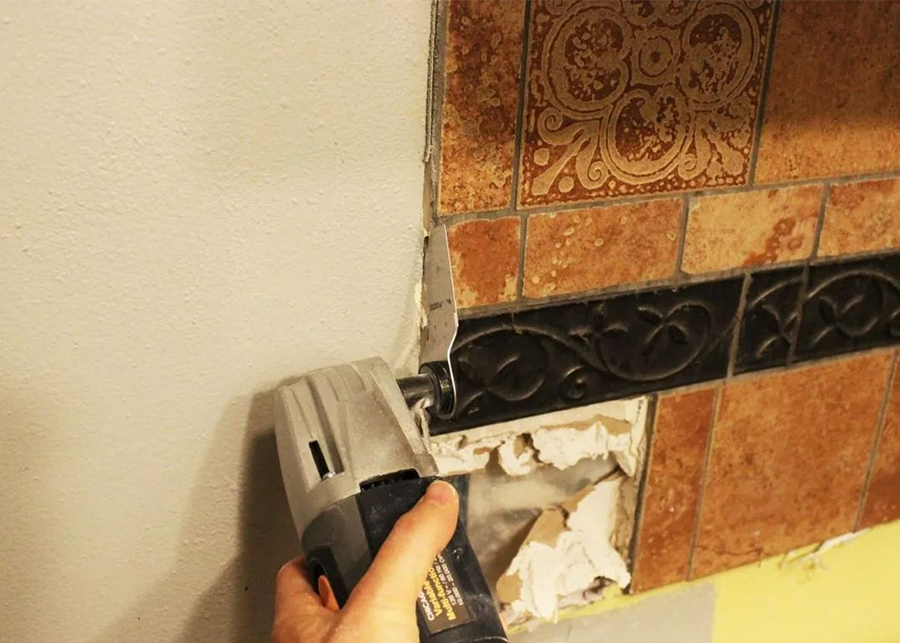
If you have decided that the tile backsplash in your kitchen is no longer attractive, there are some important preparation steps to complete before attempting to remove it. Remember, this is a potentially messy job so we recommend you protect the area and make sure that old or broken tiles are completely removed from the wall.
Removing tile backsplash can be a daunting task, but it is a project that can be completed by most people with some basic DIY skills. If you know how to remove tile backsplash, this project will be easy. In this article, we will outline the steps you need to take to remove your tile backsplash and replace it with something new. We will also provide tips on how to avoid common mistakes made during this type of project. So if you are considering removing your tile backsplash, read on for helpful advice.
How to Remove Tile Backsplash Properly?
There are a few ways to remove tile backsplashes properly. You can use a hammer and chisel to chip away at the grout between the tiles, or you can use a heat gun to soften the adhesive that holds the tiles in place. Another option is to use a chemical stripper to dissolve the adhesive.
Whatever method you choose, be sure to wear protective gear, such as goggles, gloves, and a respirator. Also, be sure to work in a well-ventilated area. And be careful not to damage the underlying surface when removing the tile backsplash.
We will talk about how to remove tile backsplash properly. First, you’ll need a hammer, a putty knife and a utility knife, an electric sander or hand sander, some sandpaper (120 grit is ideal), a drywall sanding pad, and some drywall joint compound. Here’s a quick guide on how to remove tile backsplash.
- Clear your counter so you have more room to do your thing.
- If you have electric outlets on your tile backsplash, cut the electricity and remove the outlets.
- Use your putty knife as a chisel and remove the old tiles with a hammer and putty knife carefully. Try not to damage the wall.
- After you remove the tiles, you’ll see hard or semi-hard material under the old tiles. If it is hard, go to step 5, if it is semi-hard, go to step six.
- To remove the hard material called thinset, use your putty knife and some degreaser.
- To remove the semi-hard material called mastic, use your sandpaper.,
- If you damaged the wall behind the tiles, fill them up with some drywall joint compound and let it dry fully.
- After you repaired the wall, sand the whole wall.
Now you know how to remove tile backsplash..

How to Change Tile Backsplash without Removing It?
There are a few ways to change the tile backsplash without removing it. One way is to use an adhesive-backed vinyl panel as a cover for your current backsplash. Another way would be to install floating tiles, which are ceramic tiled panels that can be installed on top of any surface including walls, countertops and floors. A third option would be installing glass tiles at either end of your current backsplash area so you could still see it while also having new clean-looking sides for cooking or preparing food in the kitchen space.
How much does it cost to change tile backsplash?
It can cost anywhere from $25 to $150 per square foot to change tile backsplash, depending on the type of tile and the installation process. If you’re doing it yourself, you can expect to pay around $50 for materials. Professionals will likely charge more, as they have access to better materials and may be able to do the job more quickly.
F.A.Q
Can I remove backsplash myself?
If you’re a do-it-yourself kind of person, consider removing your sheetrock and replacing it with drywall. This will allow you to create a smoother, cleaner backdrop for that beautiful backsplash. And rest assured, there’s no need to worry about removing the wall! With a little bit of planning and preparation, you’ll be able to remove the wall without damaging your new backsplash, or anything else in your home for that matter.
Do you have to replace drywall after removing tile?
The key takeaway here is that you’ll have to spend a little time preparing the wall before you can apply your new tile. This means tearing off any old drywall, cleaning and repairing any holes, and then sanding the entire wall to get it ready for new tile. You may not have to replace the whole panel, but don’t assume that your old tiles will fit back in place once you remove the old ones, either.
